CLICK HERE FOR FREE BLOG LAYOUTS, LINK BUTTONS AND MORE! »
Showing posts with label Fabulous Phrases. Show all posts

Sunday, January 30, 2011

A few new creations...

I made up these cards for an upcoming workshop.  My hostess wanted to do Valentine's cards, but I also wanted to give some other ideas using products from the Occasions Mini and the SAB brochures.

This first one is a 3x3 mini card.  I like to have some of these on hand for dropping a quick note off to a friend or to put with a little something.
Supplies (All Stampin' Up):  Stamps - Eat Chocolate;  Ink - Old Olive, Chocolate Chip, Rich Razzleberry; Cardstock:  Old Olive, Chocolate Chip, Rich Razzleberry; Tools - Scallop Trim Border Punch, Decorative Lable Punch

This is a nearly no stamp card for Valentines.  It's similiar to this one, but I wanted to mix it up a bit.  I'll have a short tutorial up this week on how to make the flower in the center so check back if you want more details!
Supplies (All Stampin' Up): Stamps - Fabulous Phrases; Ink - Real Red; Cardstock: Whisper White, Real Red, Patterns DSP, Red Glitter Paper; Tools - 1 3/4"Scallop Cirlc Punch, Decorative Lable Punch, Small Heart Punch; Embellishments - Basic Pearl Jewels


I haven't tried to do the water color look much, so I decided to give it a shot on this one.  I'm so happy with the way it turned out!  I stamped the blossoms and cut them out, adhering with dimensionals to give it a little more pop!  Hard to see in this picture.  I need to take a photography class!  :o)
Supplies (All Stampin' Up): Stamps - So Happy for You, Sweet Summer; Ink - Melon Mambo, Pretty in Pink, Certainly Celery, Old Olive; Cardstock: Whisper White, Old Olive, Daffodil Delight, Ice Cream Parlor DSP; Tools - Word Window Punch, Modern Label Punch; Embellishments - Ice Cream Parlor 1/4" Grosgrain Ribbon

Thursday, January 13, 2011

Quilt Mini Cards

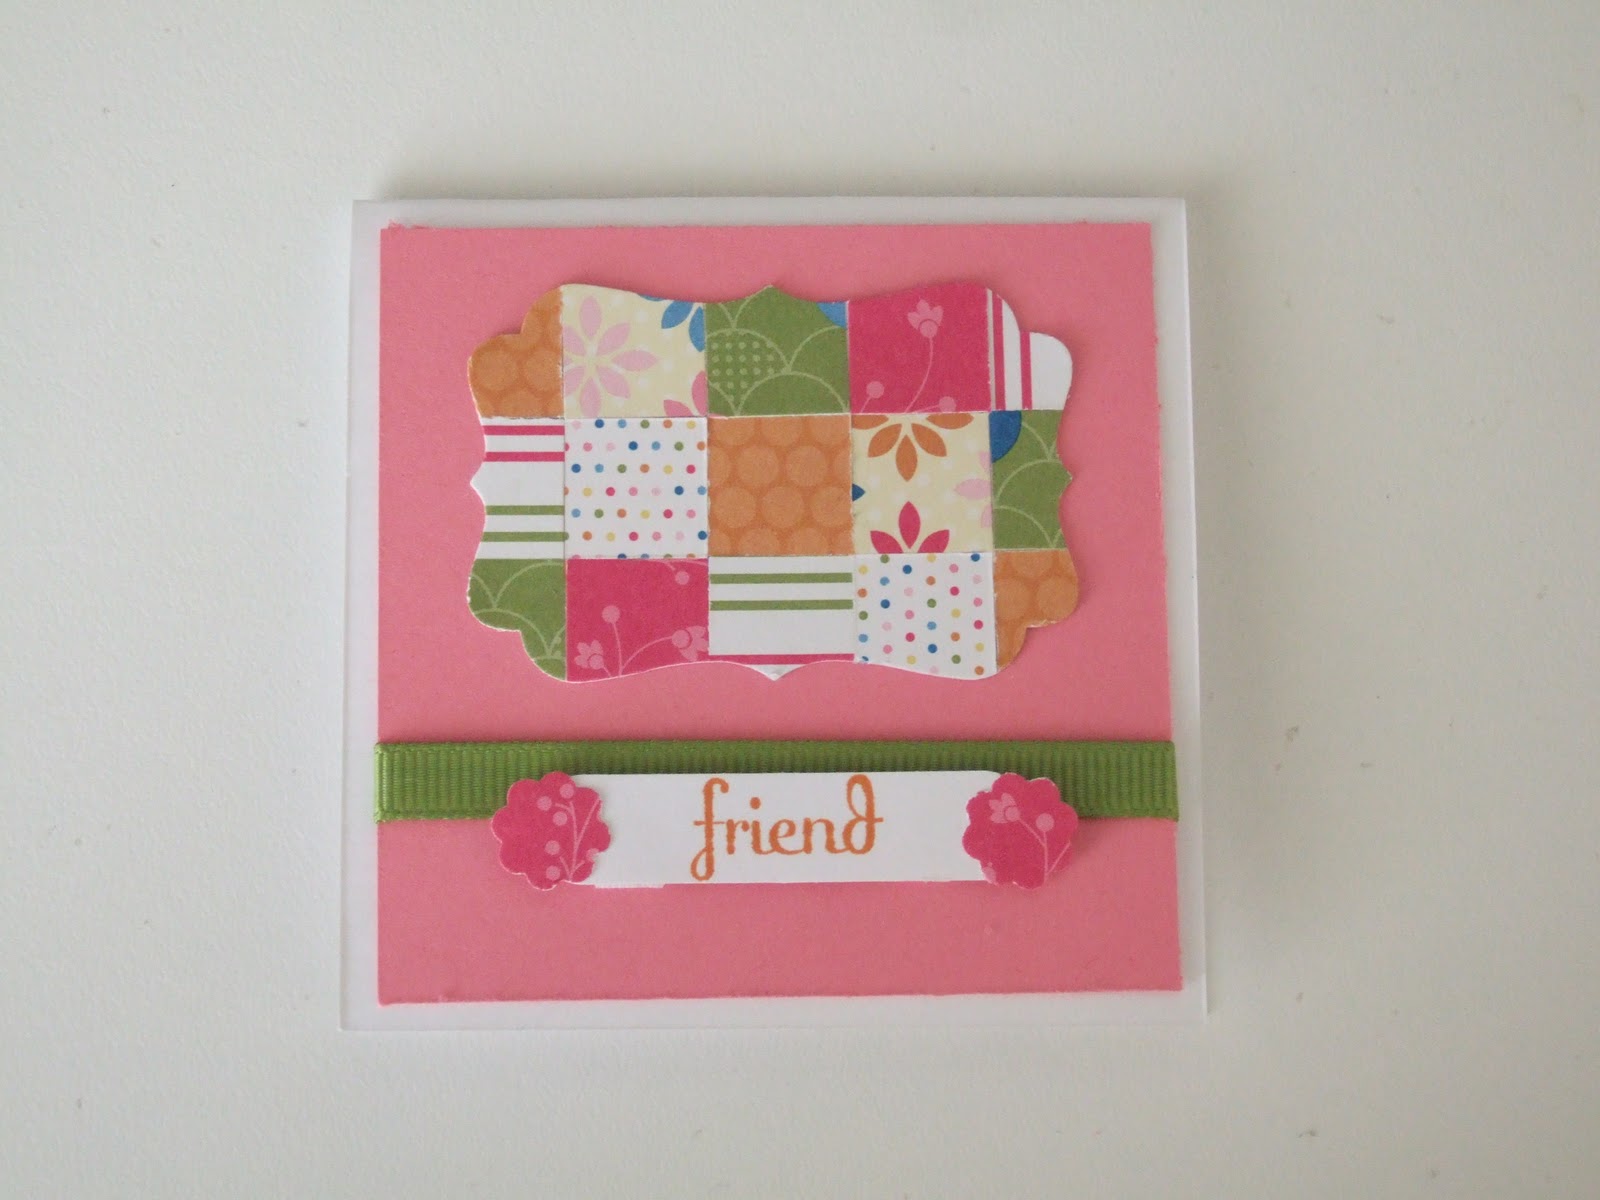
I was playing around with an idea for my Stamp-A-Stack on a smaller scale and came up with these fun little cuties!


These 3" x 3" cards were a little time consuming, mostly because the little "quilt blocks" are only 1/2" square and I hadn't ever done one before.  It also takes a little time to decide on the quilt pattern you'd like.  It was a lot of fun though!

Supplies (All Stampin' Up):  Cardstock - Whisper White, Regal Rose, Sale-A-Bration Ice Cream Parlor DSP; Ink - Pumpkin Pie; Stamps - Fabulous Phrases; Tools - Decorative Label Punch, Itty Bits Punch; Embellishments - Old Olive 1/4" Grosgrain Ribbon, Sale-A-Bration Ice Cream Parlor Quick Accents

Monday, January 10, 2011

3D Flowers and a Challenge

So, now that things have finally calmed down a little around here, I've been able to get back to my crafting, especially paper crafting, ways.

Today, I decided to start with Card Patterns Sketch 97.  Simple, yet so many great options. 


I looked through a few of the links posted and then inspiration hit.  I've been in Valentine's mode so I had to go with a Valentine's card.

Supplies (All are Stampin' Up):  Cardstock - Whisper White, DSP in Pretty in Pink and Real Red, Old Olive, Red Glitter;  Stamps - Filled with Love; Ink - Real Red; Tools - 1 3/4" Scallop Circle, Small Heart and Full Heart Punches; Embellishments - Pretty in Pink Brad, Old Olive 1/4" Grosgrain Ribbon.

The center flower is four scallop circles, alternating red and pink.  Fold the circles in quarters to add dimension.  I punched 4 small hearts from glitter paper.  Punch a hold in the center and adhere with a brad.  The leaves are a Full Heart.  It's so cute and simple.  Definitely my style.  So what do you think? 

Here is my first time playing with the 3D flower.  A lot more simple, but fun.  Opens in the center. 
Supplies (All are Stampin' Up):  Cardstock - Whisper White, Real Red, Old Olive, DSP in Pretty in Pink and Real Red;  Stamps - Fabulous Phrases; Ink - Real Red; Tools - 1 3/4" Scallop Circle, Small Heart and Full Heart Punches; Embellishments - Pretty in Pink Brad.

Friday, January 7, 2011

Punch Play

I learned this technique at a Stamp Club this last fall.  You punch out 5-6 scalloped circles using either size of Stampin' Up punches.  You get the cardstock wet and then wad it up.  Let it dry for a few minutes and then flatten them out.  Stack them on top of each other, punch a hole in the middle and secure with a small brad.  Crinkle the sides up to get the look you want.  How fun is this?!  I love it.

Supplies:  Cardstock (Miscellaneous) Sky blue, Brown textured, Orange, Turquoise, Pink; Ink (Color Box) White, Purple; Stamps (Stampin' Up) Fabulous Phrases, (Studio G) Blessed; Tools (Stampin' Up) 1 3/4" Scalloped Circle Punch, 2-way glue; Embellishments (Michaels) Light Green Ribbon, (Joann Craft Essentials) Crystal Multi Glitter

I have lots of fun ideas to use with this one.  I'll post them when I get created!

Pick-A-Petal Again

I've been playing with Pick-A-Petal a lot lately.  I've had the stamp set a long time, but decided to pull it out and play with it a little.  I came up with this one using inspiration from a card on Split Coast Stampers, but made it my own.  I like how simple it is and how the white and the salmon cardstock really play off each other.


Supplies:  Cardstock (Stampin' Up) Whisper White, (Unknown) Salmon textured; Ink (Color Box) White, (Stampin' Up) Summer Sun; Stamps - (Stampin' Up) Pick-A-Petal, Fabulous Phrases; Tools (Marvy) Corner Punch.

Super simple, but I really love it!